The WordPress Gutenberg Editor – A Comprehensive Guide For Beginners
Disable Gutenberg Editor and Use the Classic Editor for WordPress Here
It’s amazing how much information is out there about Gutenberg, even though at this stage it’s still a plugin. In fact, as with most things on the internet once you start looking into them, you soon receive information overload. Now, everywhere I turn, YouTube, Google Search, Social Media, everything Gutenberg related begins to pop up.
So where does that leave you? The average user who’s just looking for the basics. Have no fear. By the end of this comprehensive guide you’ll know enough, not only to get started using this breakthrough new WordPress editor, but you’ll also be able to form your own conclusions. Because, for better or for worse, Gutenberg is the future of WordPress…..
The Gutenberg Plugin
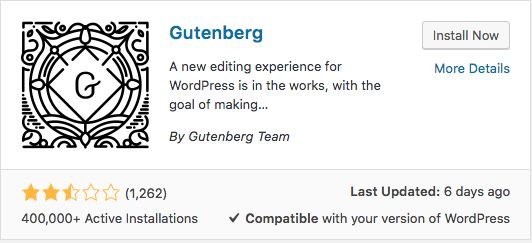
The first thing you need to do is install the plugin. So go over to plugins on your WordPress dashboard and click “Add New”. You can either type in “Gutenberg” or more than likely it will already appear in the first set of plugin choices below, it’s so popular. Click “Install” then activate the plugin and you’re good to go!
| Gutenberg | TinyMCE |
 |
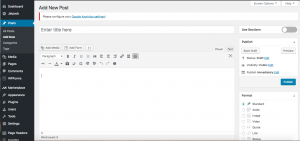 |
Rest assured, Gutenberg for the moment is only available as a plugin. Actually, it’s still in beta. However, it’s scheduled to be included with the next version of WordPress 5.0 upon its release. Sources say sometime by the end of 2018, which is fast approaching.
Although, I’m not a professional developer, programmer or even a coder, I have been building niche websites with WordPress for over 10 years. So I decided, like with everything else WordPress related, to just jump right into this new Gutenberg editor myself. I approached this as a Layman. However, after this experience I no longer consider myself a Layman Gutenberg user and after this comprehensive guide neither will you.
Before jumping right in and activating the plug-in, I would personally recommend you use it on a test site first. I wouldn't use it on any real active money site. Additionally, you’ll need to check to see if your current theme is Gutenberg compatible. This will help ensure that it won’t interfere with your theme’s options, plugins or any Page Builders you may currently have active on your site.
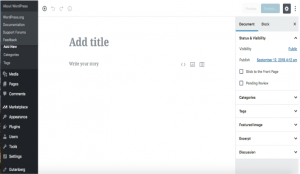
Here’s a basic grid of the Gutenberg canvas.
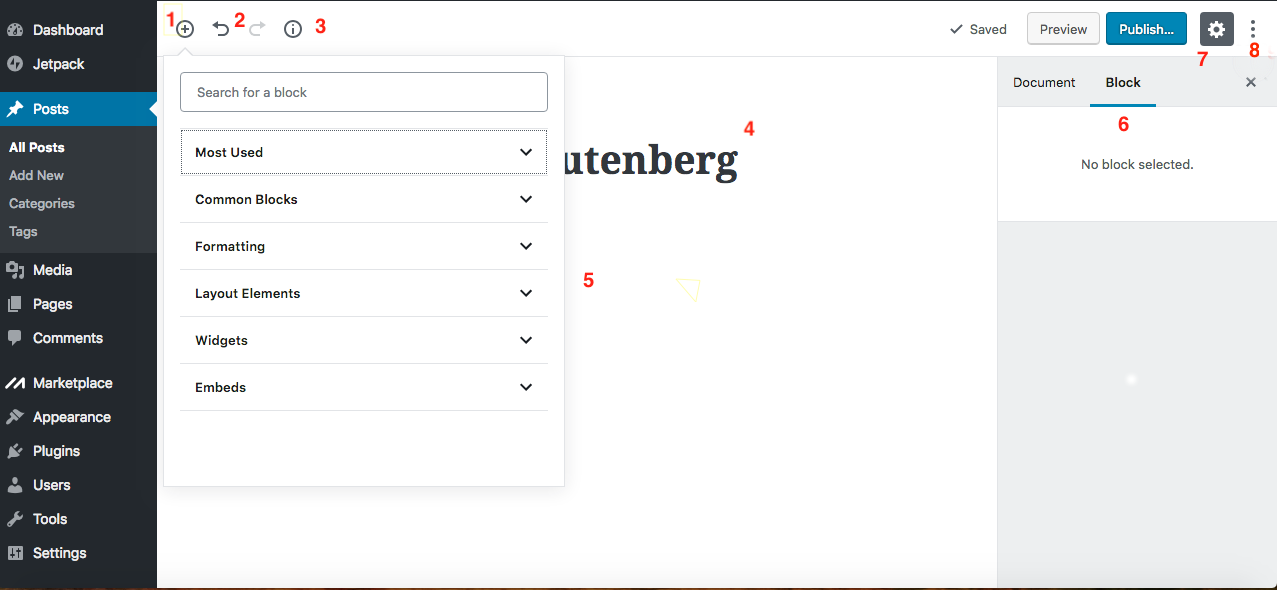
1. Add Block
2. Undo/Redo
3. Word, Headings, Paragraphs and Blocks Count
4. Post/Page Heading
5. Block Sections and Blocks
6. Block Settings
7. Hide or Display Block Settings
More (these 3 dots you will see over every Block. They give you additional options such as: add block to reusables, delete block, etc.)
I tested it on one of my sites which has a paid theme and I couldn't get Gutenberg to play nice with it. I believe many developers are waiting until Gutenberg is ready to be rolled out with the 5.0 version of WordPress before making any final adjustments to their theme’s functionality.
Gutenberg Editor Intro
The best way to test Gutenberg out for yourself is to just use one of the free WordPress themes available because Gutenberg seems to work just fine with the free theme I’ve been using it on. In fact, it's going to be very interesting to see how developers react to this major change of WordPress, especially, Page Builder creators. But these will be topics for many articles on WordPress to come. For now, let's just focus on the basics.
Going over all the ins and outs of Gutenberg while it’s in beta is a fool’s errand, for one simple reason. They’re still developing it. Lots of work going on behind the scenes. In fact, if you want to lend a helping hand, here’s a link to their WordPress Github. So, let’s be grateful that it’s still a plug-in.
This Gutenberg Beginner’s Guide is going help you move around this new editor’s interface and get your feet wet. By the end of this post you'll be able to use the new Gutenberg WordPress editor to create the kind of blog posts and pages that you're not only used to making in the Classic Editor, but will also provide you with a few new extra tools.
One of the beauties of WordPress and the first thing that attracted me to WordPress was one simple word, freedom.
Although there are other options available nowadays with Wix, Squarespace and Weebly, etc. WordPress allows you complete freedom to choose your own host and hosting plans, shared and dedicated servers or if needed, to migrate to the Cloud directly. Whereas, with those all inclusive CMS plans, you’re pretty much stuck with their hosting and their pricing.
So for now, I'll stick with WordPress. Before anyone panics that the sky is falling and that Gutenberg will totally crash the WordPress ecosystem, give it a try. It's not so bad. In fact, you may be surprised at how much you like it!
Many of the features that come with Gutenberg are only now available with paid themes. So, whether you’re just starting out on your WordPress journey or looking to save money on those first few niche sites by getting yourself a free theme. You too can enjoy some of these new nifty features without shelling out for a paid theme or weighing down your fresh site with a bunch of heavy plugins.
The first thing that strikes you about Gutenberg is the lack of controls at the top. Instead what you get is basically a blank canvas. This could feel a little intimidating at first. You’ll ask, “Where is the menu?” However, you'll quickly notice just below the Header box, which is clearly seen at the top, a space to “add text”. As soon as you click inside the box, the container on the top right switches from Document to Block. This is the first Block that you will be working with. It’s the Paragraph Block by default and you just start adding text. Let’s start with how its interface is organized.
Sections and Blocks
If you have experience using WordPress Page Builders you quickly realise the similarities between Page Builders and Gutenberg. Both allow you to design your page with a series of Blocks to create the layout that you desire. Although, many in the WordPress community would argue that Gutenberg is not a Page Builder, the concept is very similar. So I would guess to say Gutenberg is more of a Hybrid Page Editor with Page Builder qualities.
That being said, if you understand Page Builders you’ll also understand the concept behind them: Blocks. You use Blocks to organise the page layout. So Gutenberg is basically organised in Blocks.
If you look at the top left corner you'll notice a (+) plus sign inside a circle. Click that and the Block Selector display will open. The Block Selector is organized in Sections containing the individual Blocks you will be using to create your posts and pages in the Editor, or I like to call it, the Canvas.
Sections
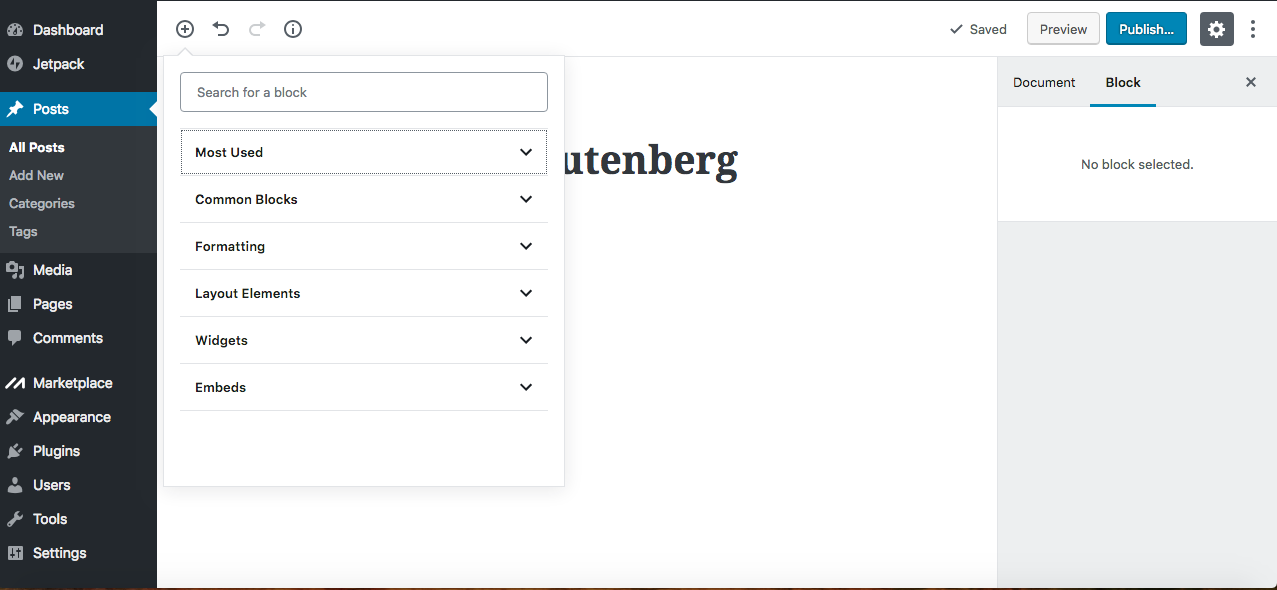
Sections are divided into the following:
-
- Most Used
-
- Common Blocks
-
- Formatting
-
- Layout Elements
-
- Widgets
-
- Embeds
- Reusable
The Most Used Section are Blocks that you use most often or if you're just starting out, the most popular Blocks. These will change as you use your Editor more and more. Let's start with the Common Blocks section.
Gutenberg Editor Common Blocks
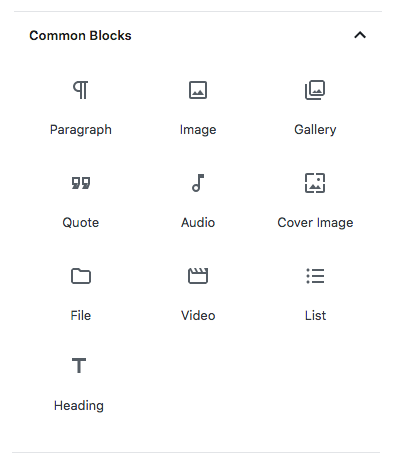
Paragraph
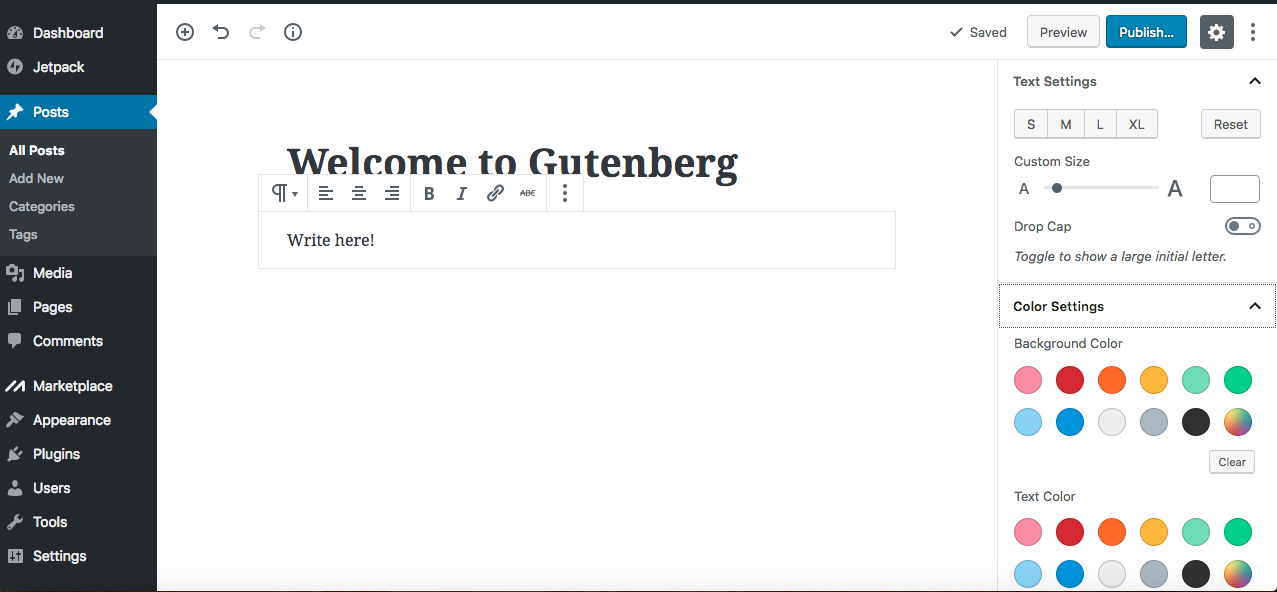
The Paragraph Block is the most common Block used. In fact, if you decide to just start typing right into the Gutenberg editor, it automatically defaults to the Paragraph Block.
- Text Sizes
The text size presets start at small (S) and go through to extra large (XL). Right underneath you’ll find a custom slide bar, which allows you to adjust the font size intuitively. However, if there is a particular font size you want, there’s a small box next to the adjustable slide bar where you can enter it. - Drop Cap
The drop cap enlarges the first initial letter in the text, it has a sort of old world style to it. Although, Gutenberg still doesn't have the ability to change the font family, I'm sure that will come in the future as there are some requests for it already. Many paid themes allow you to change the font family, so you be able to do the same once they are Gutenberg compatible. - Color Settings
Below the Drop Cap are your Color Settings. You can choose from the basic colors that they have or make your own. What's different about Gutenberg when compared to the Classic Editor, is that now, not only can you choose the text color, but you can also choose a background color as well. So right away, just in the Text Block alone there are already two new features that you can do with Gutenberg that you can't do with the Classic Editor without extra plugins. - Advanced
Right below the Color Settings, you'll notice one last feature, the Advanced Section. In it, you can add additional CSS classes for customizing your paragraphs. Usually, you only find these types of features in paid themes, now you get them for free with Gutenberg. In fact, there’s an Advanced Section in every block of Gutenberg for CSS Class customization.
Image

Simply upload an image from your computer or from your Media Library in WordPress. You can also align it left, right or center and adjust its size. Similar to the same function in the Classic Editor.
Heading
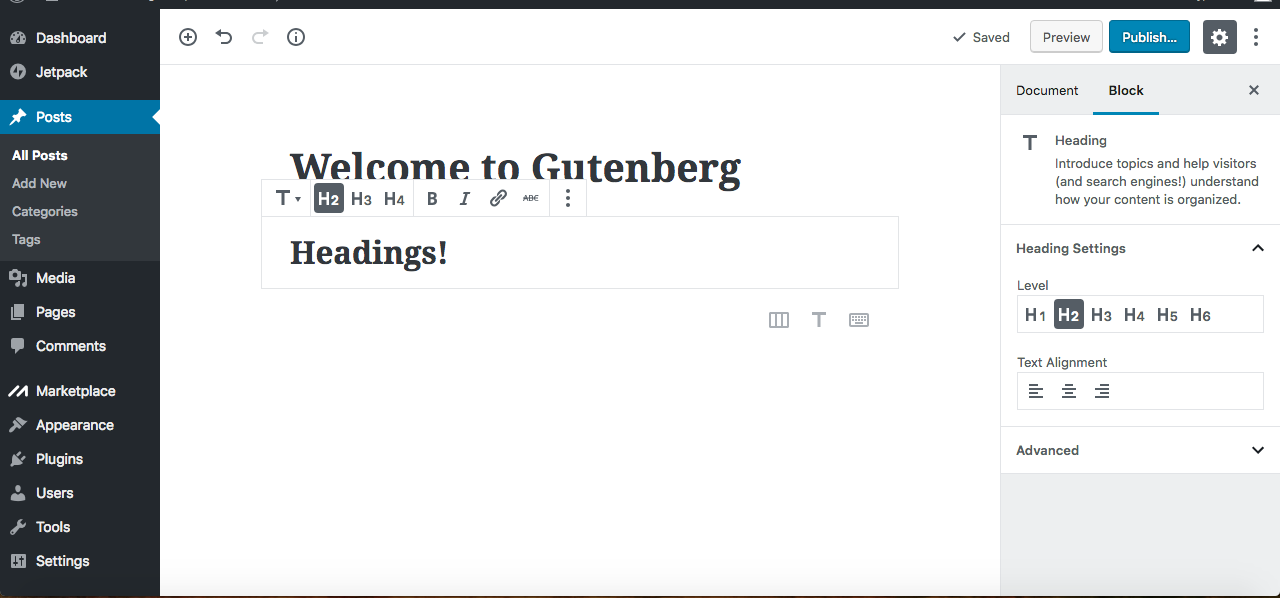
Headings or H-tags have their own Block in Gutenberg. So, just click the Heading icon and it adds another text box. So, if you’d like to start your next paragraph with a H3 tag. Just click H3 and type in your text. You’ll also notice that you can use Bold, Italic as well as a Clickable Link and a Strikethrough. More H-tags can be found in the Heading Block settings to the right.
List
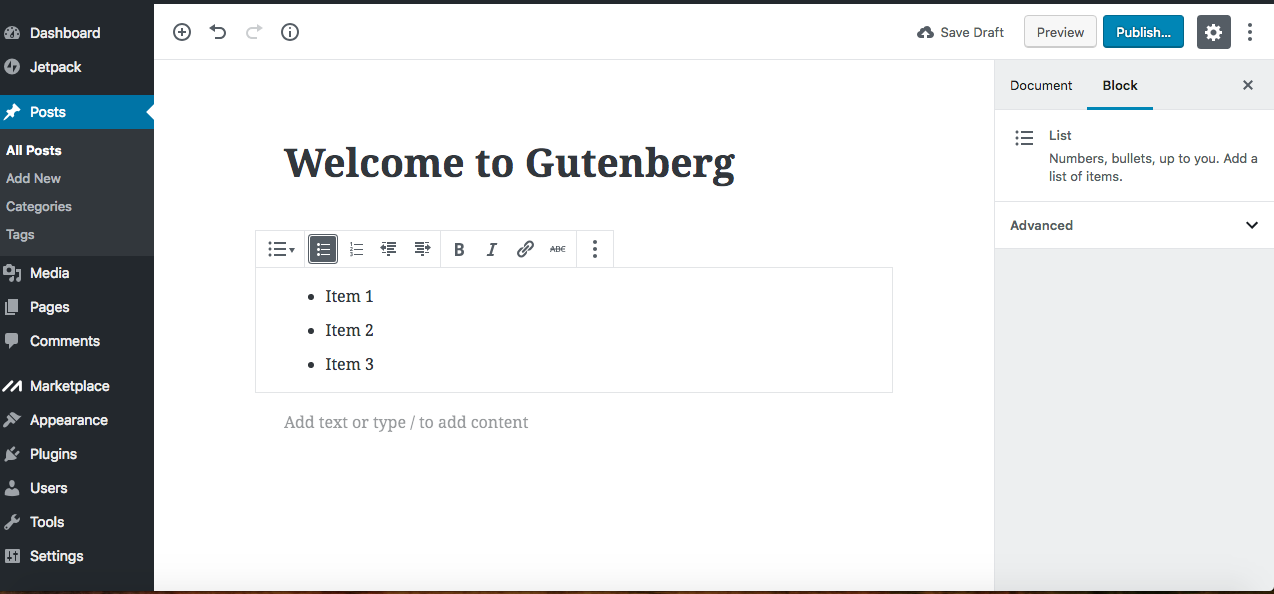
The List Block is nothing really special here. In the top menu you can make Bullet Points and Numbered Lists. You could Outdent or Indent your lists as well as use Bold, Italics, Strikethrough and add a Clickable Link.
Video
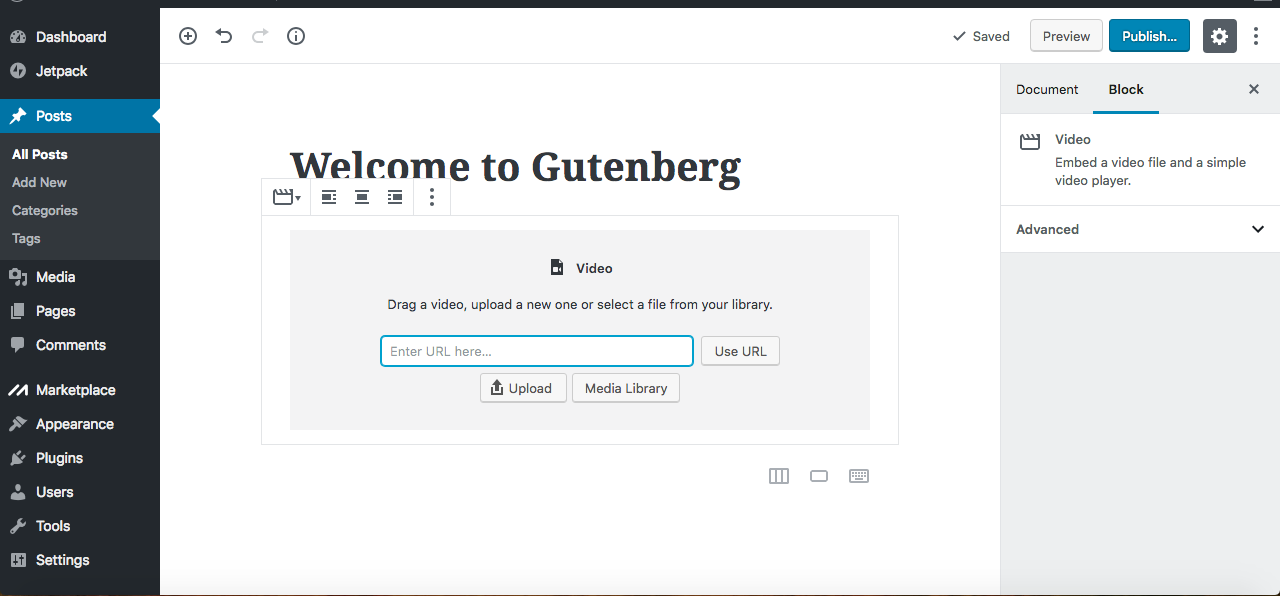
You can embed your own video file and a simple video player right into the page or post.
Gallery
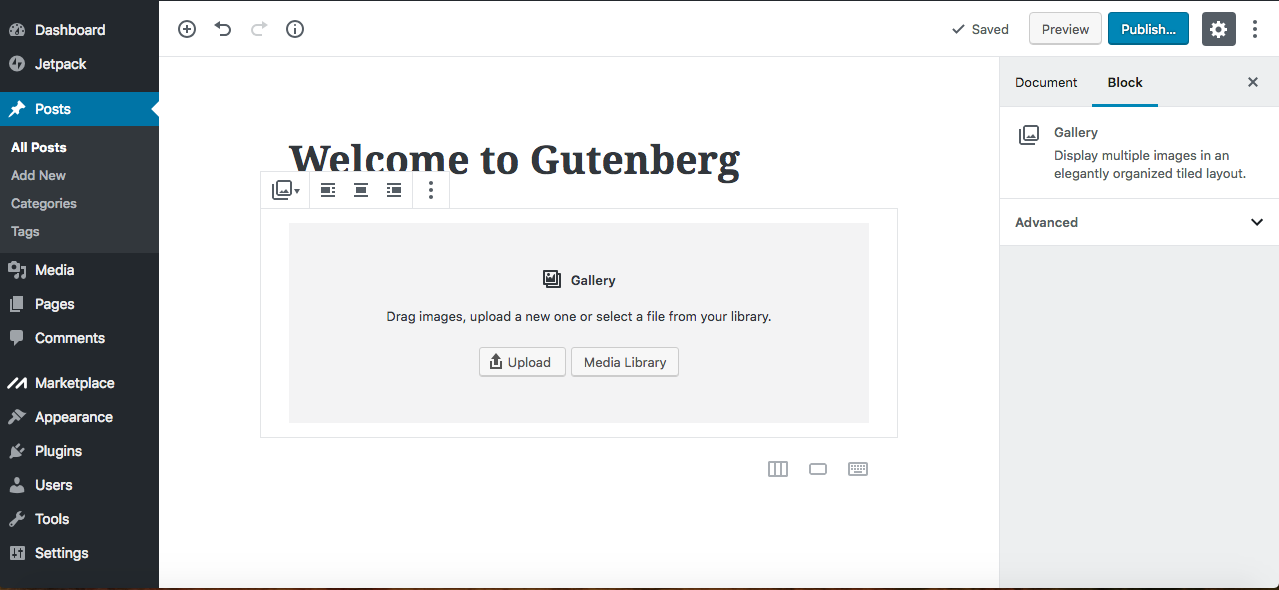
What the Gallery Block does is it allows you to upload several images at once. Then display them in an elegantly organised tile layout.
Quote
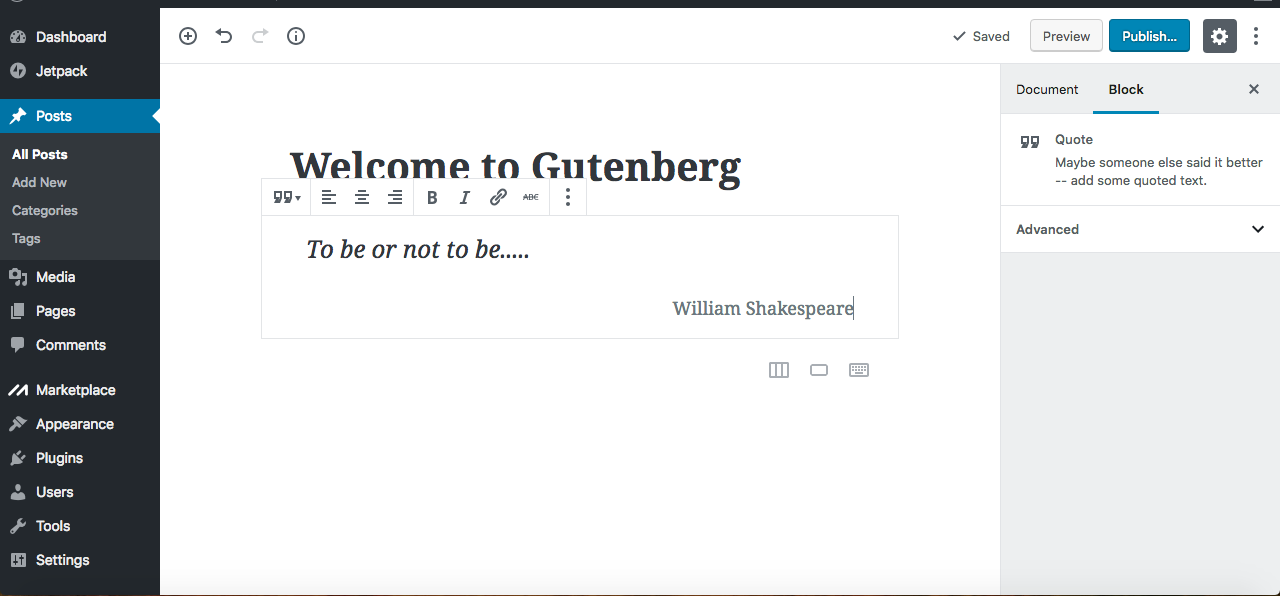
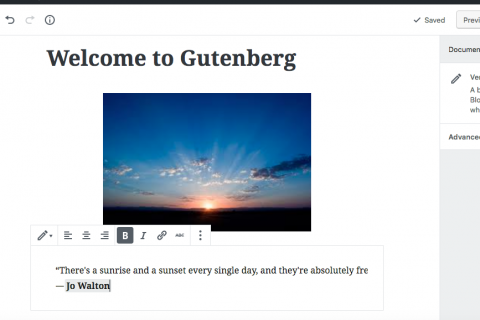
The Quote Block not only lets you to add quotes but it allows you to accentuate the quotation and add its source. It looks really cool once it goes live. Unlike classic quotation marks.

Audio
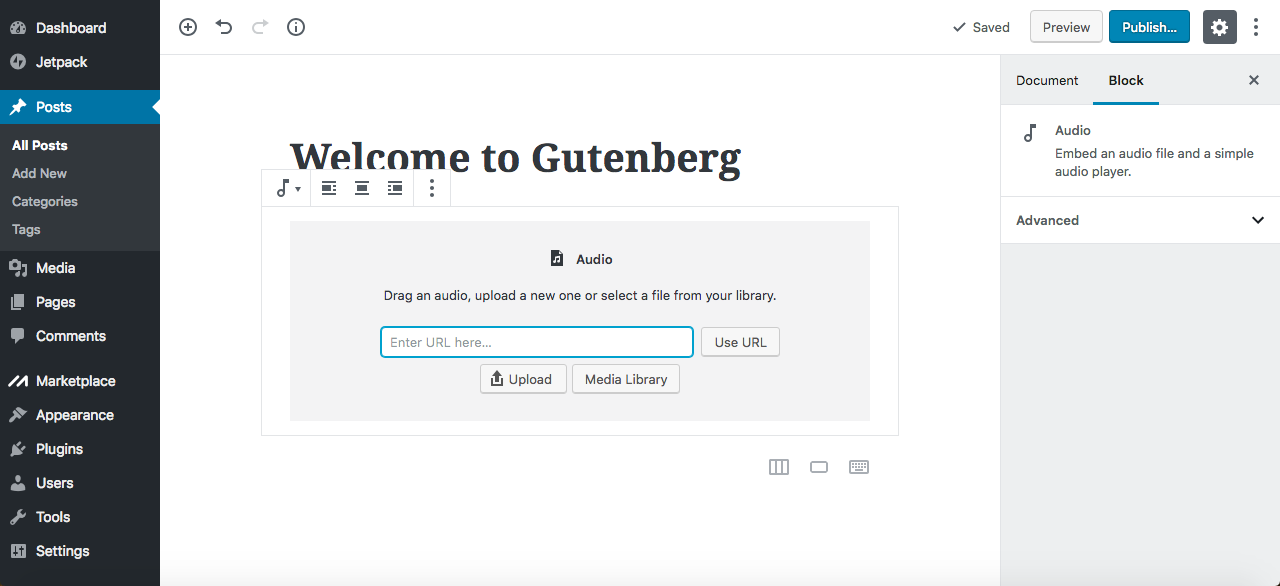
Drag or upload an audio file or select a file from your Media Library. Then add a simple audio player right into the post or page.
Cover image
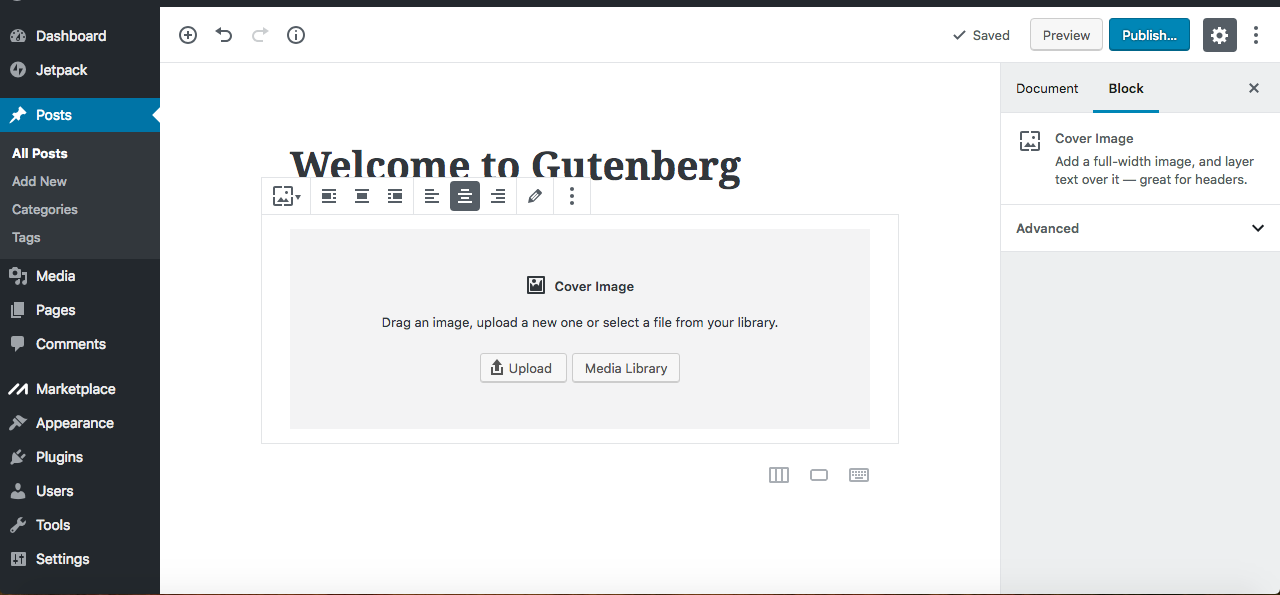
You can add a full-width image and layer text over it. This makes for great headers. Simply drag an image, upload a new one or select an image file from your library.
File

The File Block allows you to add a link to a file that visitors can download. Simply drag a file, upload a new one or select a file from your Media Library.
Gutenberg Editor Formatting
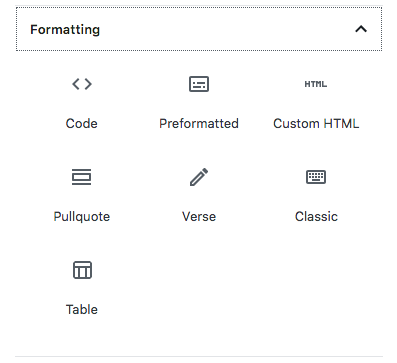
Code

The Code Block allows you to add text so if you have any HTML spacing or tab requirements, you can easily enter it in the code symbols <>.
Preformatted
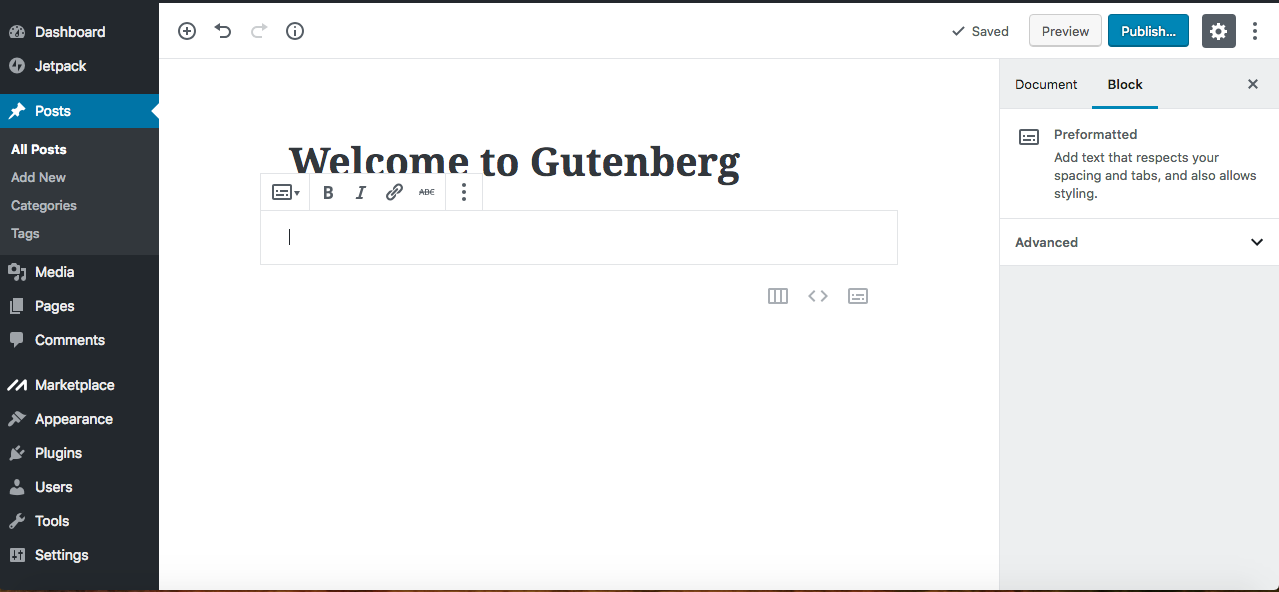
The Preformatted Block lets you to add text, spacing etc. in a way that respects your text, spacing and tabs. It also allows for styling. Similar to the Classic Editor, except now it has its own Block.
Pullquote
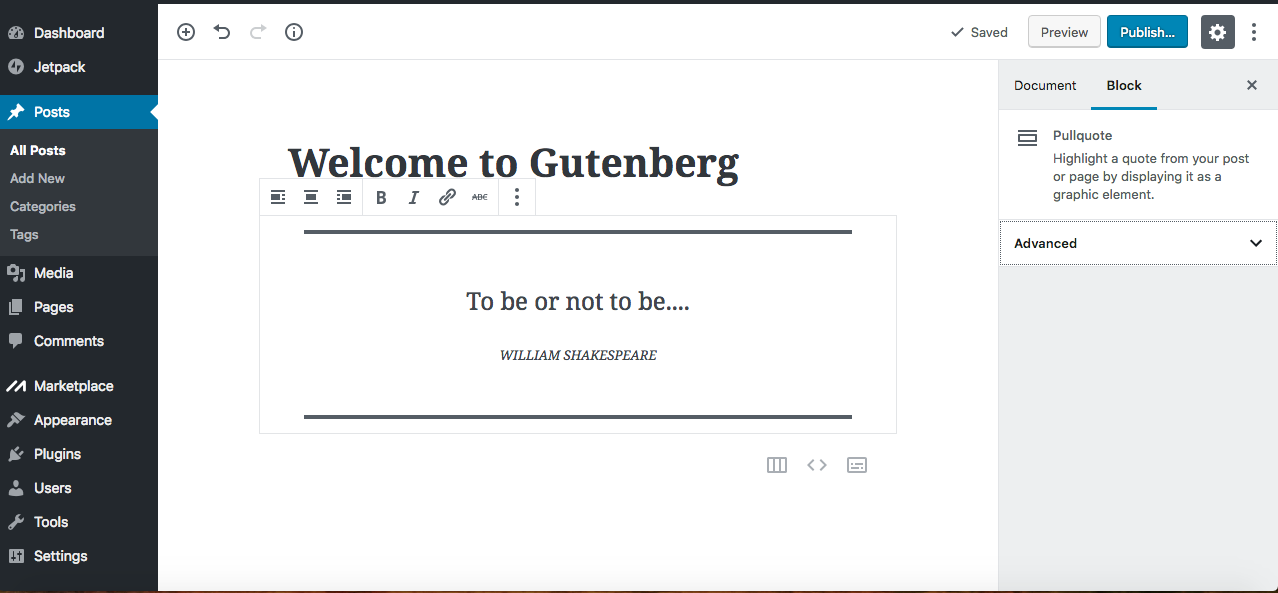
You can highlight a quote from your post or page by displaying it as a graphic element. The top selectors allow you to position it to the left, right or centered between your text.
Table

In this Block you can insert a table. Perfect for sharing charts and other data. Here you can choose how many columns and how many rows very easily. You can also position the table to the left, center or to the right of text.
Verse
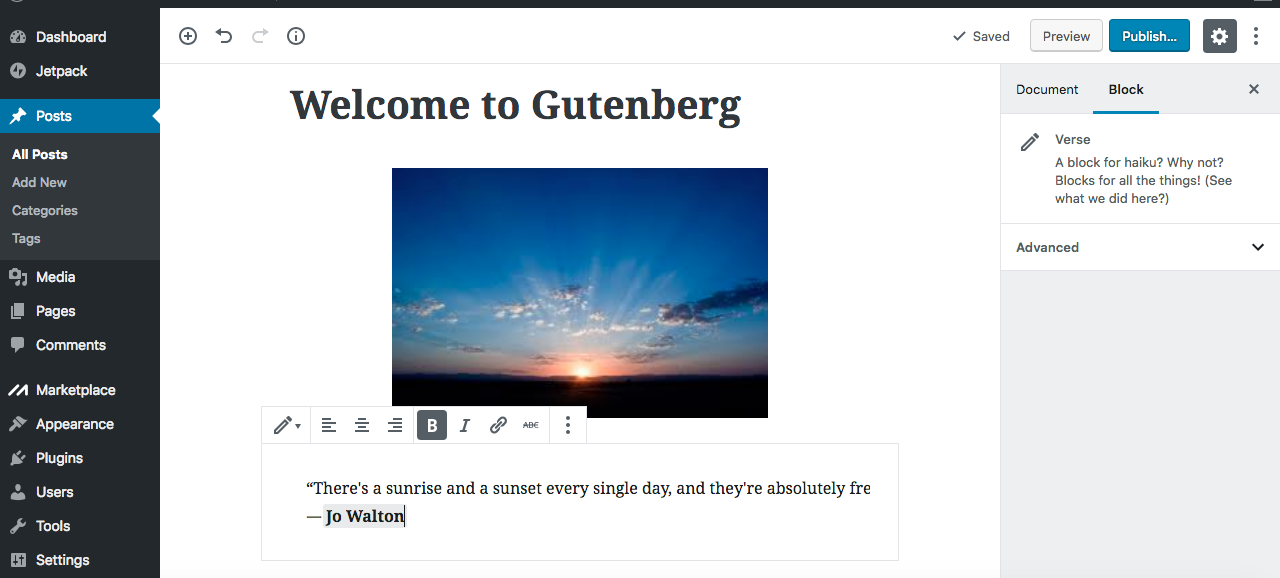
For those who like poetry or would like to add more than just a caption to a photo. The Verse block allows you to do all that beautifully.
Classic Editor
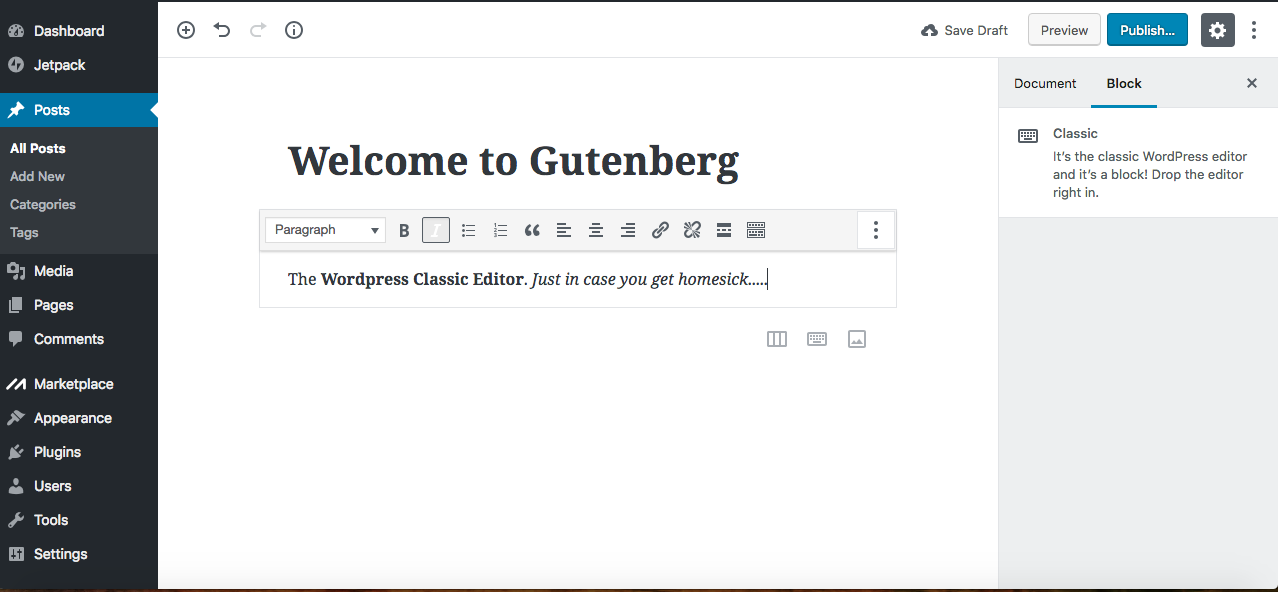
Yes, that’s right. You’re eyes aren’t playing tricks on you. The Classic TinyMCE WordPress Editor that you’ve been used to all these years. It comes included. Gutenberg leaves no-one left behind. Just click it and you'll soon see something very familiar. Your good old TinyMCE WordPress Editor just in case you get a little homesick (note: that there is a Classic WordPress Editor Plugin available for the time being, if you choose to put off the inevitable). But why bother?
Custom HTML
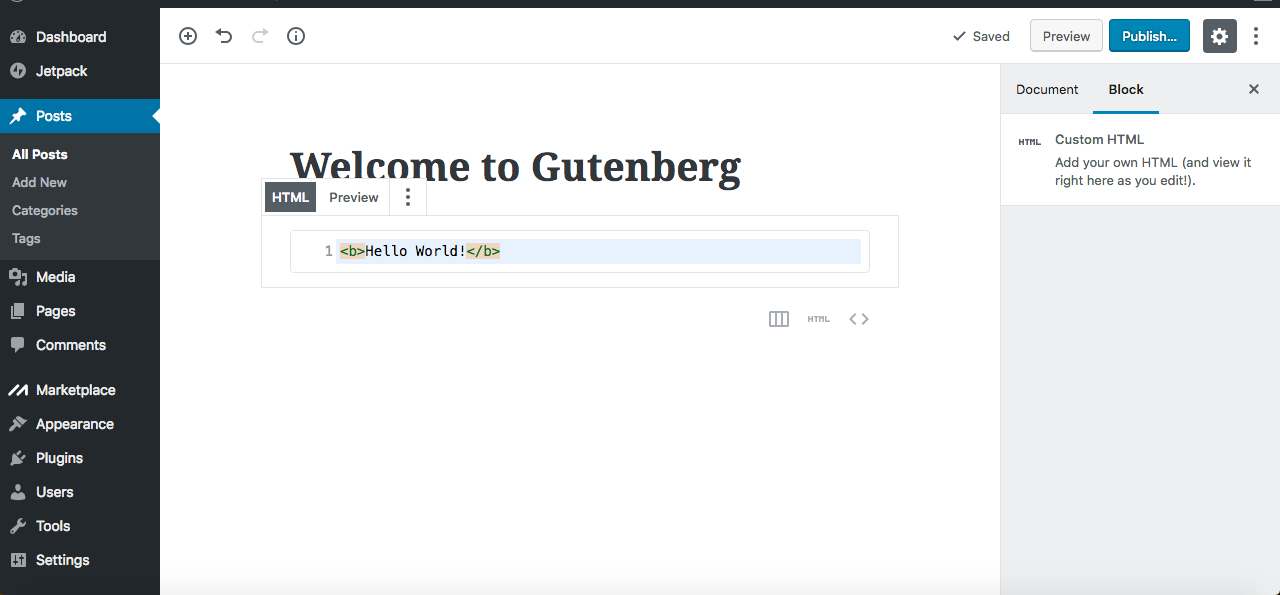
You can add your own HTML right in the Block. The Custom HTML Block also features autocomplete, which helps you save a lot of time finding just the right code. You can also preview it right inside the Editor much faster than with the similar function in the Classic TinyMCE Editor.
Gutenberg Layout Elements
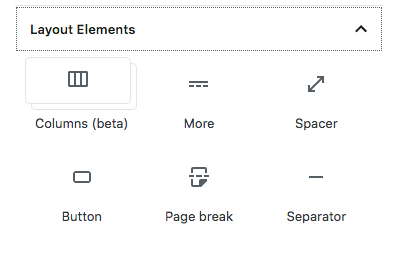
In this section, you can organize your post or page with different dimensions, sizes and layouts. Right on the canvas.
Column (beta)
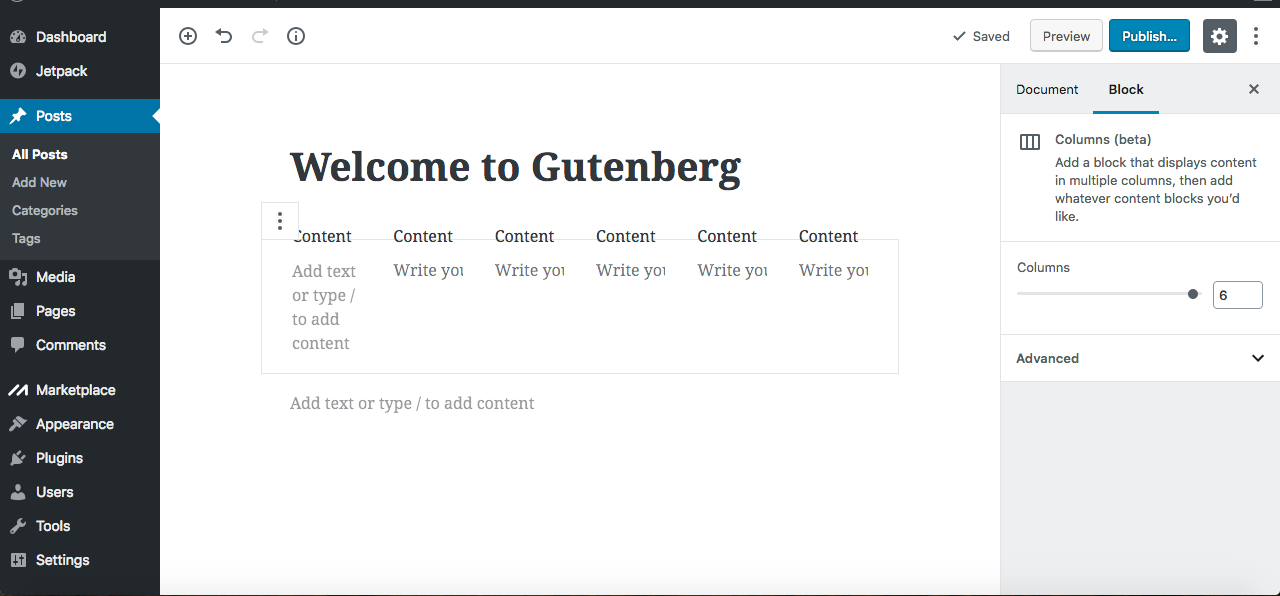
The column feature is pretty cool. Just click the column and it gives you two columns to start with. If you look over to the right at its block settings, you can make up to 6 columns. With the Classic Editor you would need an additional plugin for this. No more!
You can also move the columns anywhere you want on the page. In fact, that's the whole beauty behind Guttenberg. It allows you to adjust the Blocks to whatever order you want them displayed on the page. No more cutting and pasting. No more adjusting with your tab bar. Either scroll up or down to move the Block on the page or simply drag and drop it.
Spacer
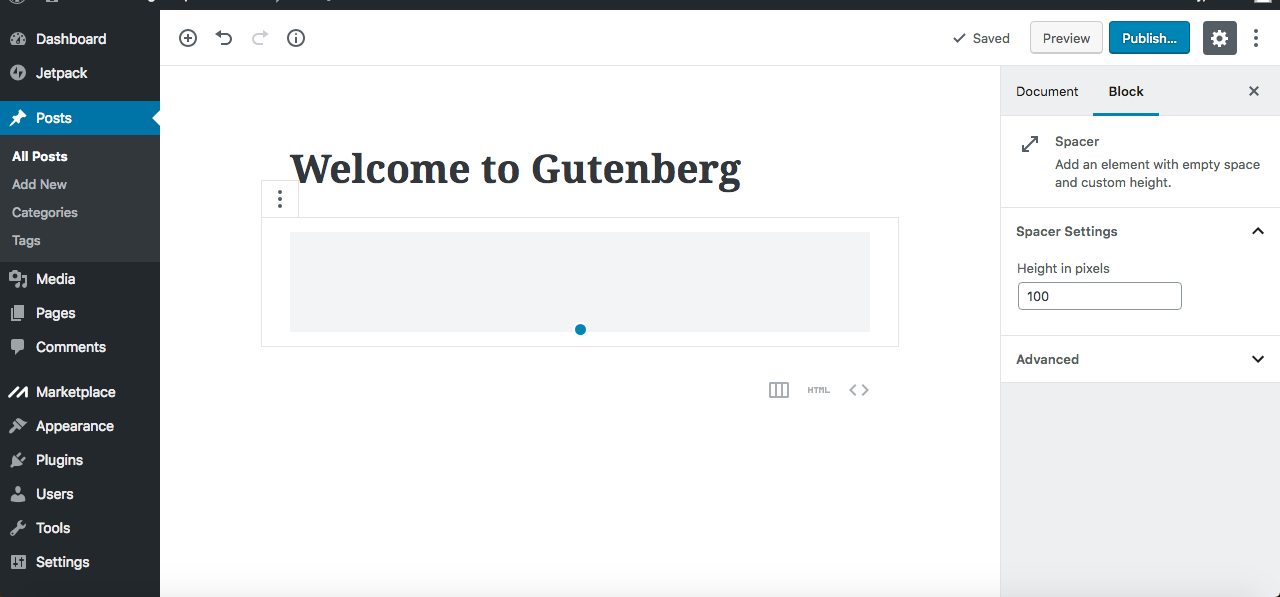
As you move down into the Layout Elements section, you'll notice the Spacer Block, which at first sight, doesn't look like much. But with this you can customize the space in between Blocks or Elements, allowing for very little space or very wide space between Blocks. The Spacer comes in handy, especially when combined with the drag and drop capabilities of Gutenberg. Letting you put your own finishing touches to the dimensions within your page.
More
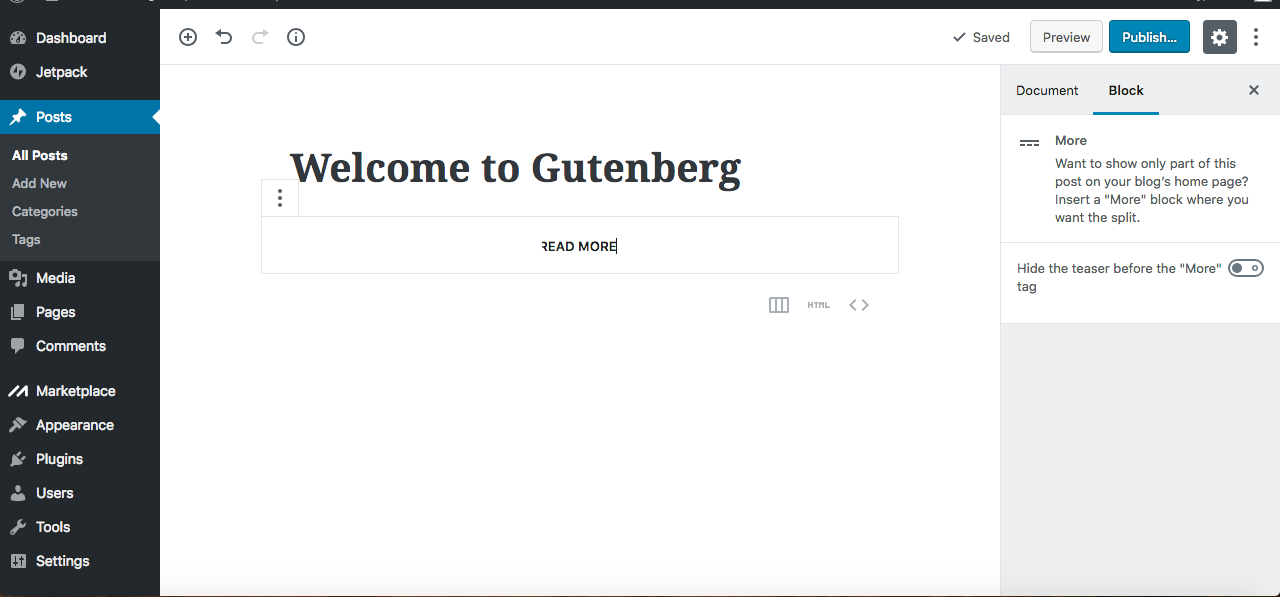
This Block allows you to show only part of a post on your blog’s homepage. You simply insert a More Block where you want a paragraph for the passage of your post to stop and it will only show a brief excerpt or a brief section of the post on your homepage. You can also hide the teaser before the "More" tag
Button
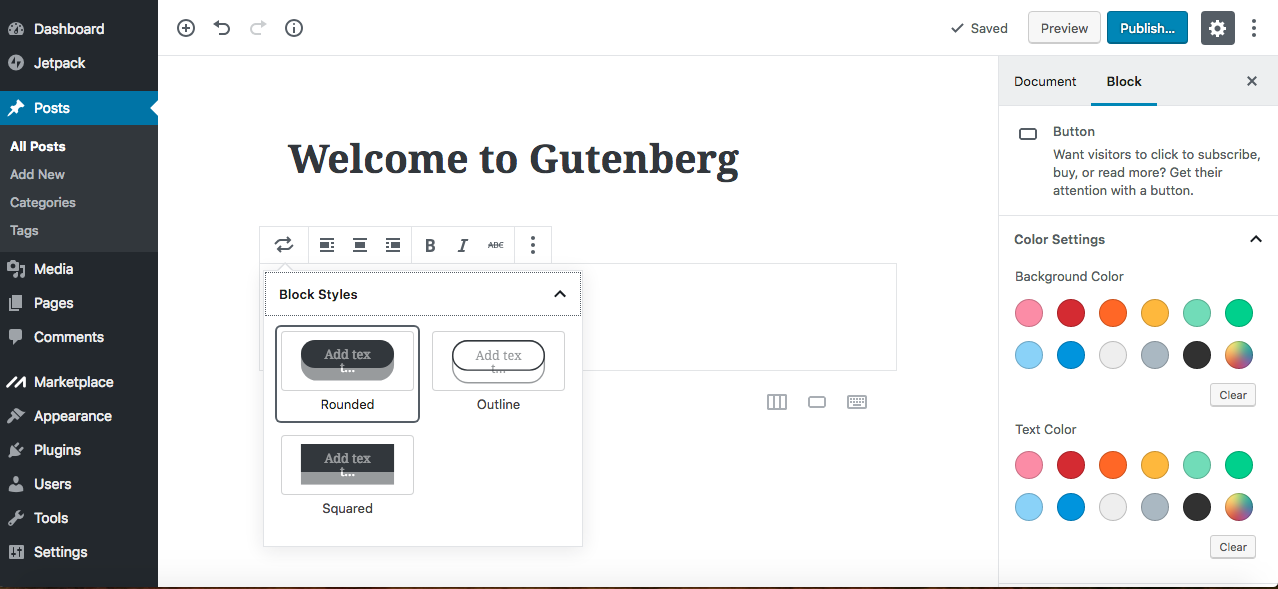
Want to add a button that readers and visitors can click to read more, subscribe, or even buy? This is another feature of Gutenberg where you don't need to use a separate plugin for. The button comes in three styles: Rounded, Squared and Outline. Choose the color of the background as well as the text color of your button. Simply add a link to your button right in the box.
Page Break
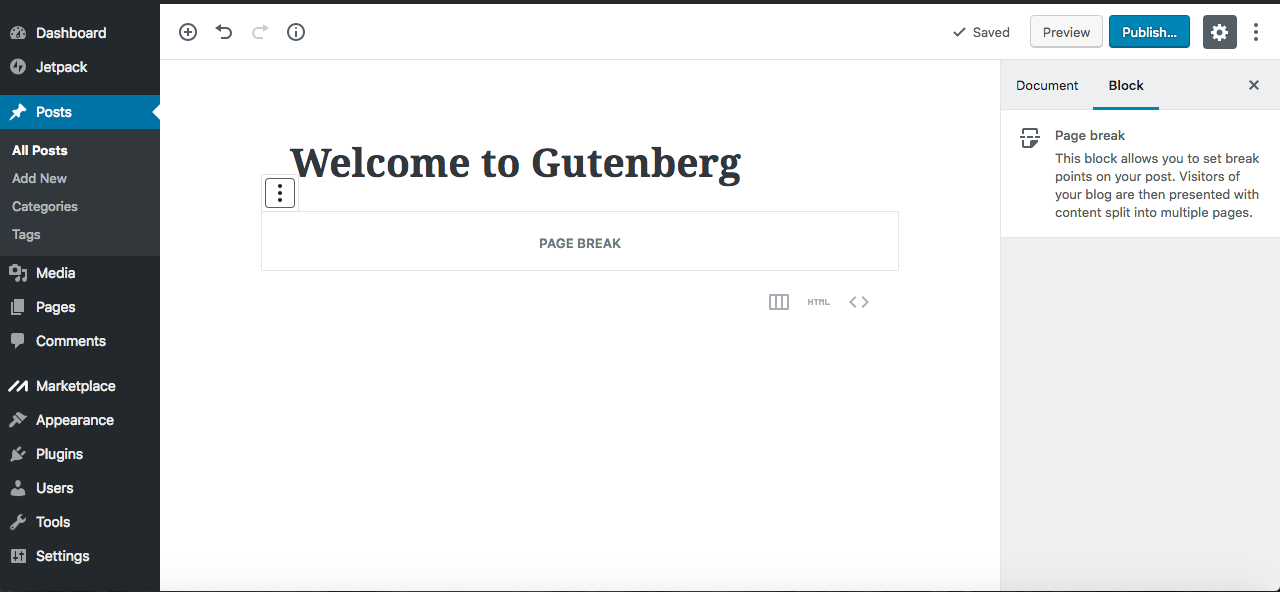
This Block allows you to set page break points on your post or page. Visitors to your blog are presented with your content that is split into multiple pages.
Separator
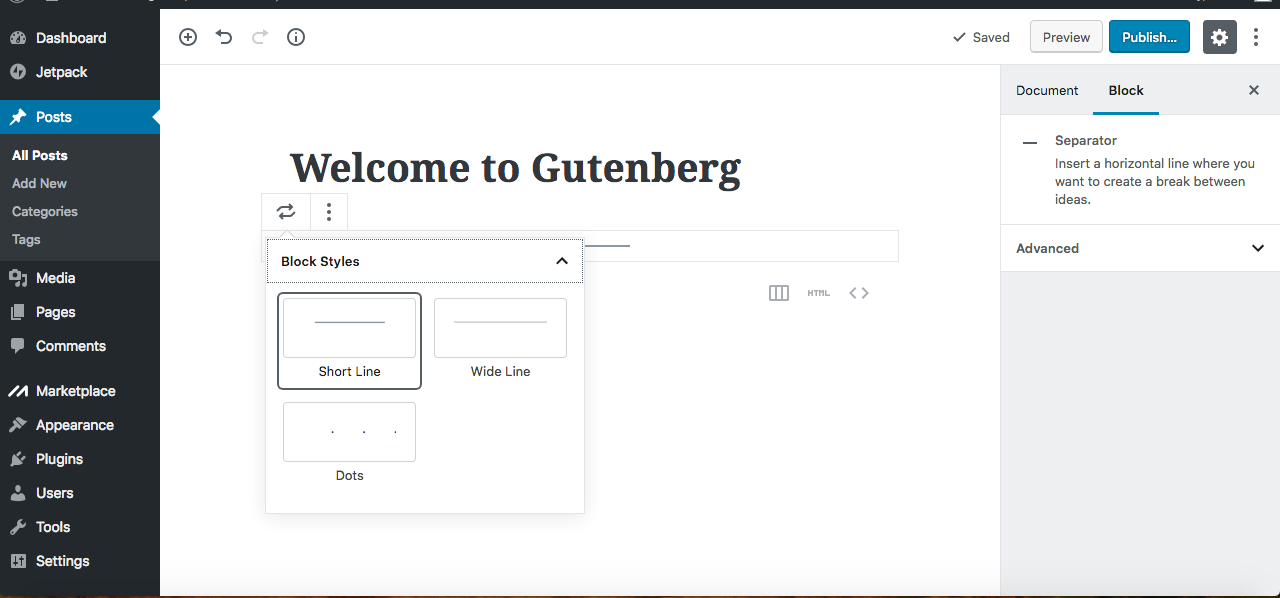
You can insert a horizontal line wherever you want to create a break in between ideas. The block styles for that line break come in: Short Line, White Line or Dots. In the classic editor you would need to actually use your keyboard to create some of these effects. Clunky when compared with Gutenberg.
Gutenberg Editor Widgets
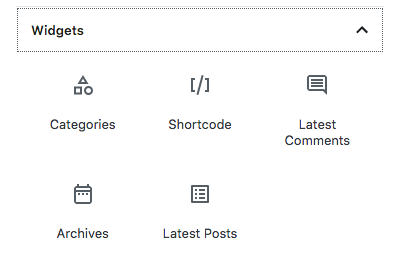
In the Widgets section you'll find 5 Blocks: Categories, Shortcode, Archives, Latest Comments, and Latest Posts.
Categories
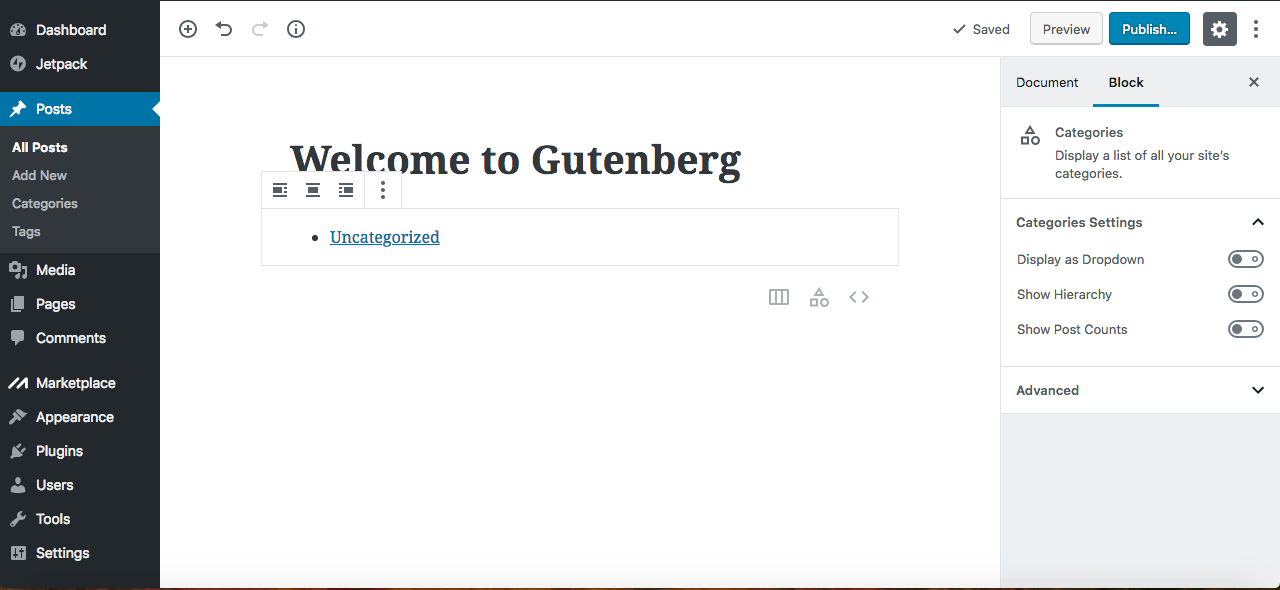
Now you can drop your categories in any page you like. Not only that, but you can also set them within an individual page, position them to the left, right or centered. The Categories Block also allows you to display your categories as a drop down menu, show hierarchy and post counts. So no longer are you stuck with just having your categories in the side column on every page. You can now put your categories within individual pages or not.
Short Code
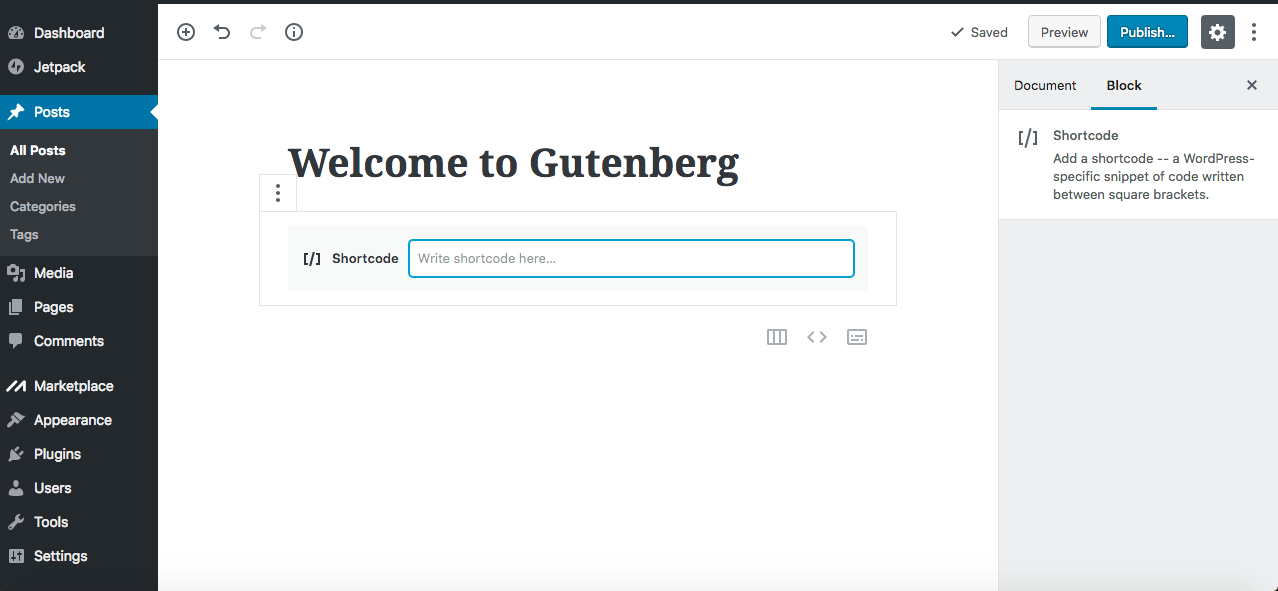
Add Shortcode on each individual page and position it wherever you like.
Archives

Display your monthly Archive of your site’s posts right in the page. Normally, archives are kept in the right column on every page. Under settings, display them as a drop down menu and/or show post counts. Some themes allow you to hide the Archive section while others have a search bar. Gutenberg’s Editor now lets you choose which pages to show your site’s Archives section or hide them all together. Also, position them wherever you like on any post or page. No longer are you relegated to only the far right section on each page.
Latest Comments
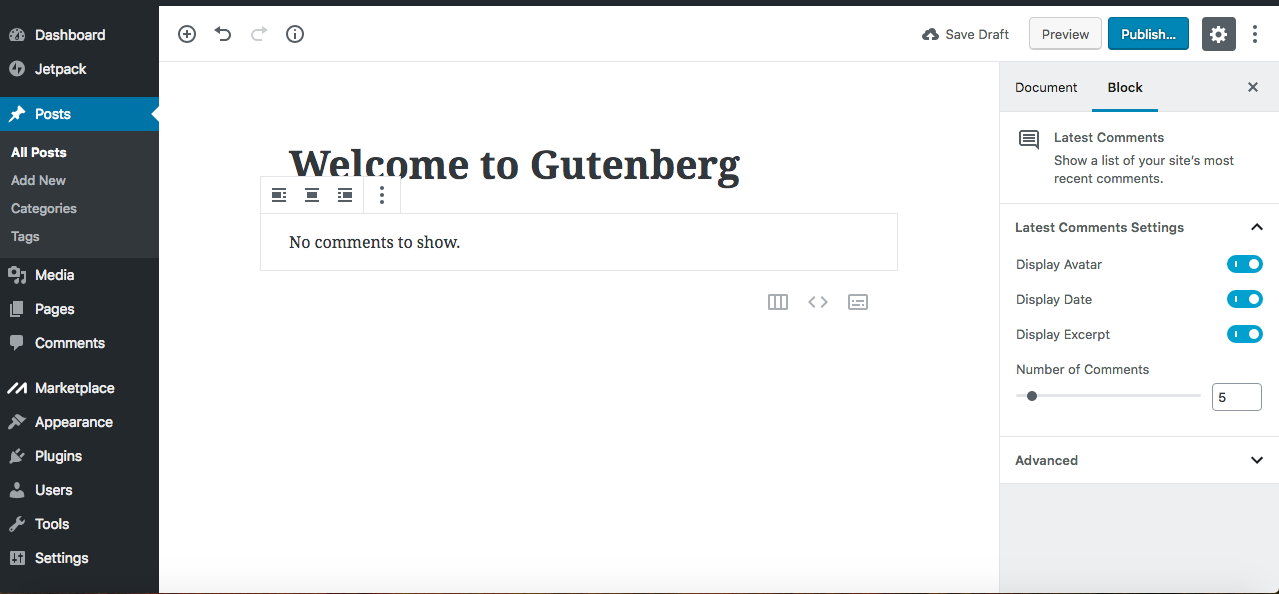
You can add a Latest Comments Block to your page. Show a list of your site’s most recent comments. In the settings you can display an Avatar, Display Dates, and Excerpts. Also, show the amount of Comments and put a cap at the maximum amount of Comments shown on the page if you like. This Block also allows you to choose which pages and posts to encourage Comments on and which pages or posts you want to exclude Comments on. Gutenberg now provides this new level of flexibility.
Latest Posts
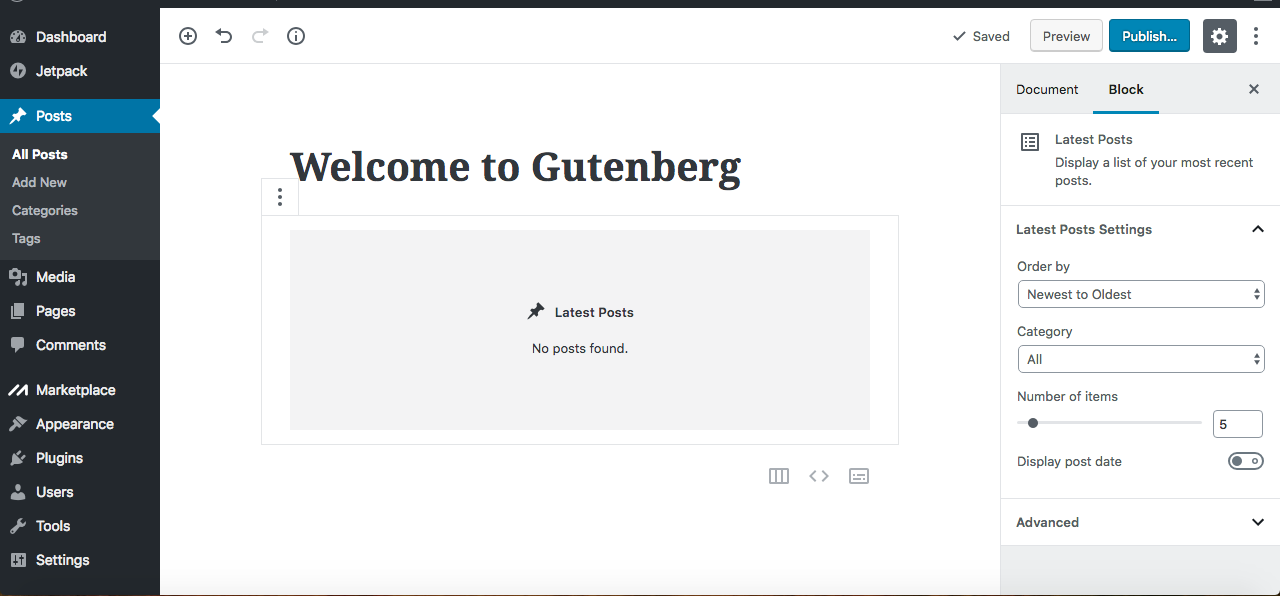
This Block lets you display a list of your most Recent Posts. In the Latest Posts settings you can order Posts from Newest to Oldest or vice versa. A through Z and vice versa. You can also show the Categories and choose the number of items you wish to display and their post dates.
Gutenberg Editor Embeds
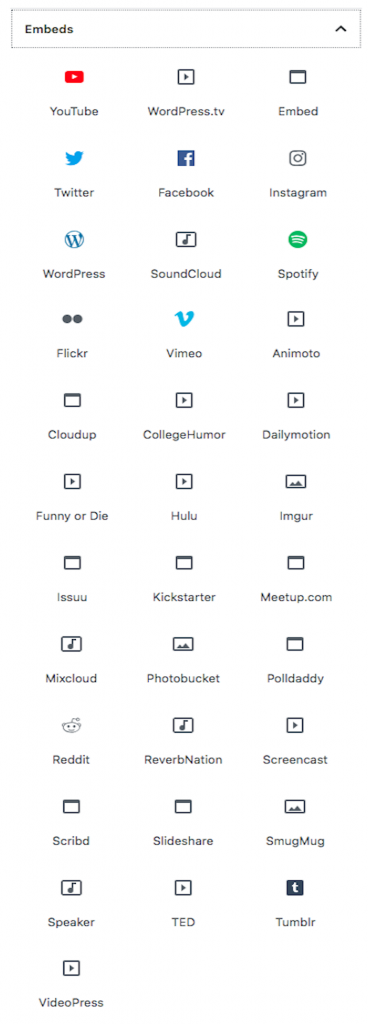
This section allows you to add various social media buttons within the post it's got a huge current selection already: YouTube, Twitter Facebook, Instagram, Spotify list goes on. Choose where in the post you put your own Embed in with the drag and drop feature of the page block design.
Gutenberg Editor Reusables
 |
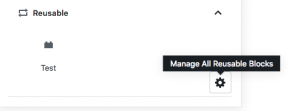 |
Create Blocks, then save them to reuse throughout your site. Are there some common Block designs and content that you wish to interject into a post or page? No need to rewrite/redesign, copy and paste. This Block also allows you to make content and design changes in one place. A big time saver! Make your changes once and they apply throughout your site, all right from the Reusable Block.
Gutenberg Editor’s Drag and Drop
Gutenberg uses the drag and drop method for positioning Blocks on the page. This is so much more efficient than the old copy and paste method from the Classic Editor. It keeps all your elements and styling nice and neat while allowing you to control your page’s layout.
There are two ways to use the drag and drop (thank God!). The first is to move your cursor to the far right border of the block you wish to move. A little hand will appear. Simply click the hand and move the block into the position or order you would like it displayed on the page and drop. Unfortunately, I couldn’t get it to work for me. Did I tell you there are still a few kinks that need to be worked out? Which is why I’m grateful for the second option.
Move your cursor to the far left border of the block you wish to move. Two Up and Down Arrows will appear. Simply click the arrow in the direction you want the block to display on the page and move it into place. The arrows worked like a charm.
Overall, Gutenberg is still a little wonky and has a few kinks left to work out. Despite the kinks and some of the negative reviews for the plugin, it is by far superior to the TinyMCE Editor (sorry guys). Besides, this is probably the biggest change to WordPress in 10 years, so the negativity is to be expected. Who likes change, right? Even in Tech….
However, Gutenberg is a real game changer and with the likes of Wix and Squarespace in the CMS arena, nipping at WordPress’s toes by offering turnkey websites with just a few clicks, this change has been long overdue. So jump in and give it a spin! Once you get used to it, you’ll soon be asking, “What took them so long?”
Gutenberg, the future of WordPress….
 David Peluchette is a Freelance Writer/Travel and Tech Enthusiast. When David isn’t writing, he enjoys traveling, learning new languages, fitness, hiking as well as going on long walks (did the 550 mile Camino de Santiago, not once but twice!), cooking, eating, reading and building niche websites with WordPress.

