
The Easiest Way to Enable Facebook Instant Posts and Google AMP
Today, we're going to take a look at how one plugin—PageFrog—is going to make your life as a webmaster easier. It does this in two ways: 1) by setting up Facebook Instant Articles and 2) by implementing Google AMP.
Both Facebook Instant Articles and Google AMP are recent developments, and both are targeted towards the same thing: a faster Internet experience. In this post, we'll dissect the purpose of both of these important projects, and how to use PageFrog to set them up on your own website.
Facebook Instant Articles
Facebook Instant Articles (FBIA) is a relatively new project from Facebook. It uses the same technology that loads photos and videos directly inside the Facebook interface to will allow your website's articles to also load directly inside the Facebook interface.
This provides a seamless experience to readers who come across your website while browsing Facebook, while also ensuring load times up to 10x faster.
In fact, according to official statistics collected by Facebook, FBIA results in 20% more engagement with articles, and makes readers 70% less likely to abandon a website page without first reading it.
PageFrog makes setting up FBIA on your website as simple as a few clicks. Let's take a closer look.
Setting Up Facebook Instant Articles
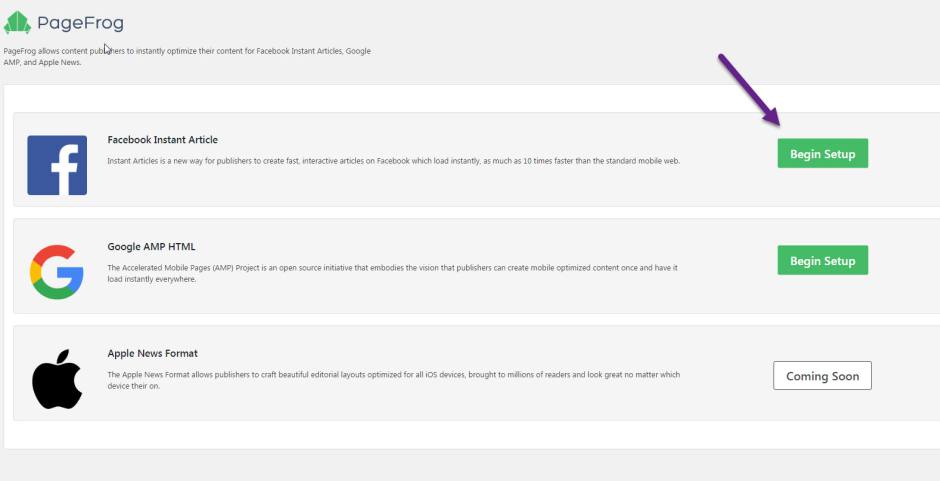
After installing and activating PageFrog through the WP Admin > Plugins > Add New Pluginpage, you'll be automatically redirected to the "Setup" page for PageFrog. To start setting up FBIA, click on the large green button as indicated below.
A popup will appear, with step-by-step instructions for implementing FBIA. Firstly, you're going to have to request access to FBIA from Facebook. This part will take a bit of time, as it entails connecting your RSS feed to Facebook and customizing the styling of your articles to an acceptable format (Facebook has a guide to the preferred format here).
After the article formatting is complete, you'll have to submit the articles to Facebook for review. Their team will ensure that your articles meet the formatting criteria.
This part of the process usually takes 24-48 hours—so if you haven't already been given access, you'll have to wait for approval and then come back to the plugin and complete the steps to start publishing your content to FBIA.
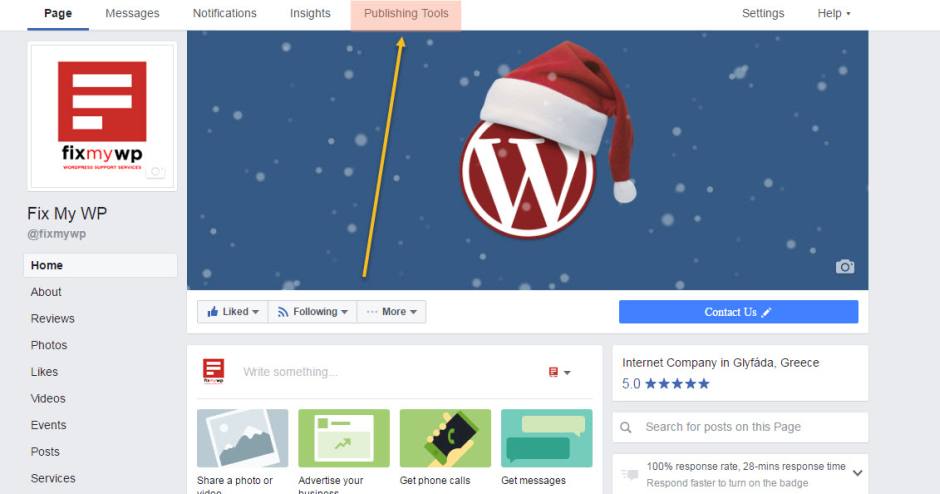
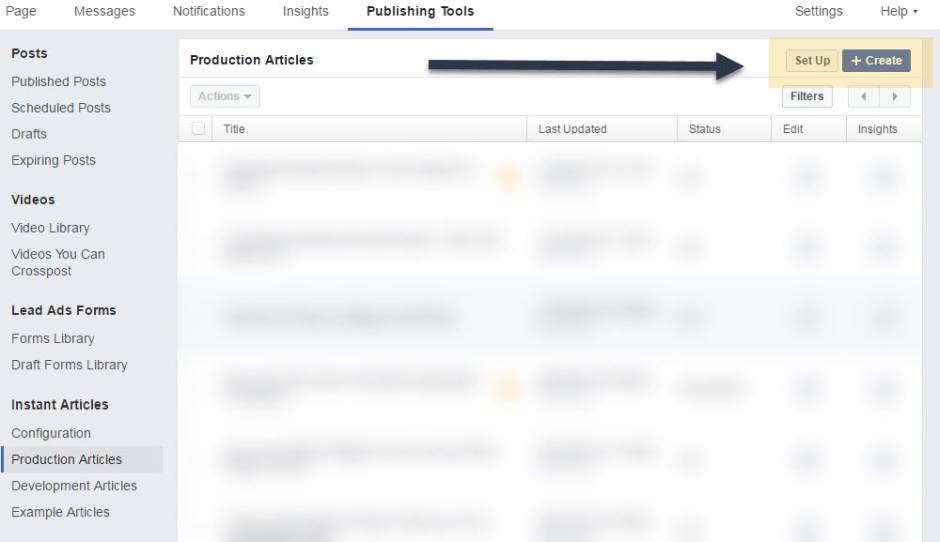
Once you have approval, head over to the "Publishing Tools" tab on the top toolbar on your Facebook page.
From there, click on the "Production" link under the "Instant Articles" tab. You'll find it on the left sidebar of the page.
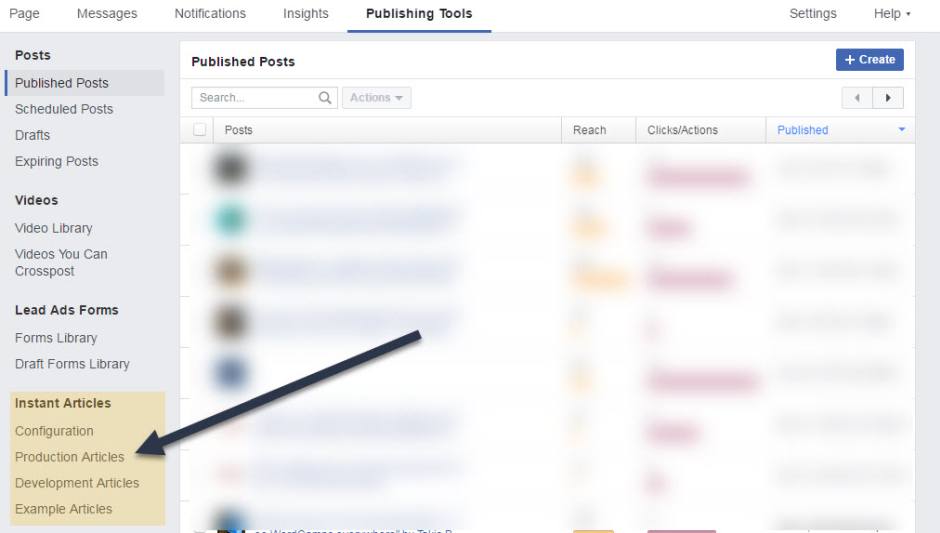
Hit the "Set Up" button (we're already at the second-last step!).
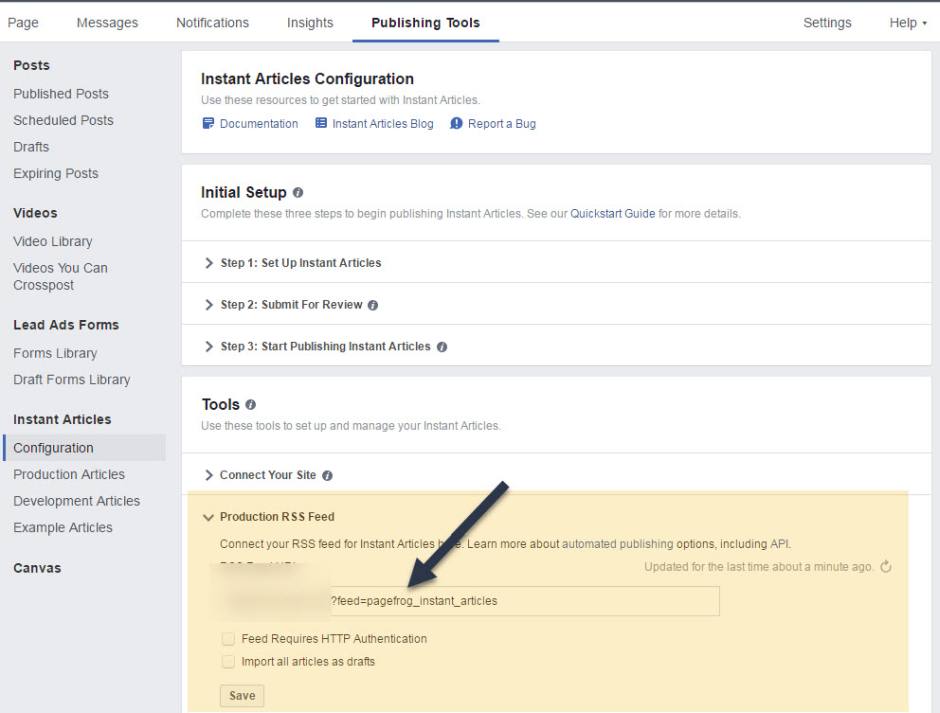
Finally, copy the unique RSS feed URL for your website provided back in the PageFrog popup and paste it into the provided URL textarea down near the bottom of the "RSS Feed" box. The URL will follow this format: http://yourwebsite.com/?feed=pagefrog_instant_articles
And that's it! Once you have access from Facebook, the entire process of setting up FBIA with PageFrog takes no more than 2-3 minutes. In just that short amount of time, you'll be ready to start serving your content to visitors from Facebook at ridiculously fast speeds.
Google AMP
Now, let's learn a bit more about PageFrog's Google AMP function. And to do that, let's first understand exactly what AMP is.
AMP stands for Accelerated Mobile Pages. Like FBIA, it is too a recent project (started by Google in 2015). In essence, it's way to make website pages load super-fast on mobile. AMP trims down any extraneous features, and through Javascript reduces the number browser requests as a page loads.
But it does it really work?
In a word, yes. According to the official Google blog, AMP results in page load speeds almost 4 times as fast—which is by no means an insignificant result.
And when you consider that mobile traffic now accounts for over a third of all Internet traffic, it's safe to say that Google AMP is definitely something that you want enabled on your site—today.
Now that we have a basic understanding of what AMP really is, let's get into how to set it up through PageFrog.
Setting Up Google AMP
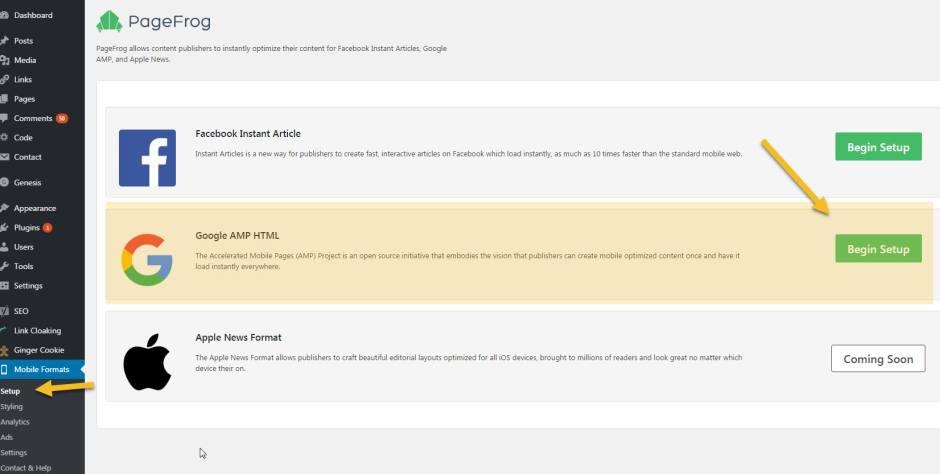
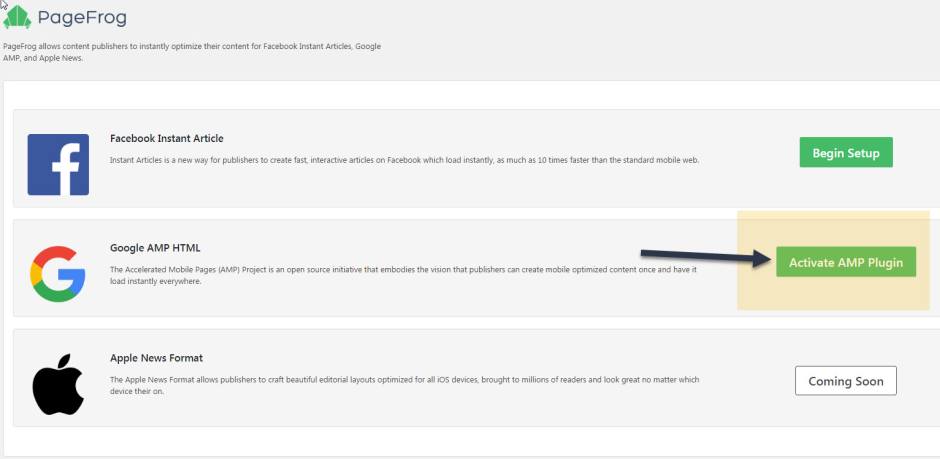
First, you'll head back over to the Mobile Formats > Setup in your WordPress side menu (where we started the FBIA setup as well). This time around, you'll hit the green button next to Google AMP HTML.
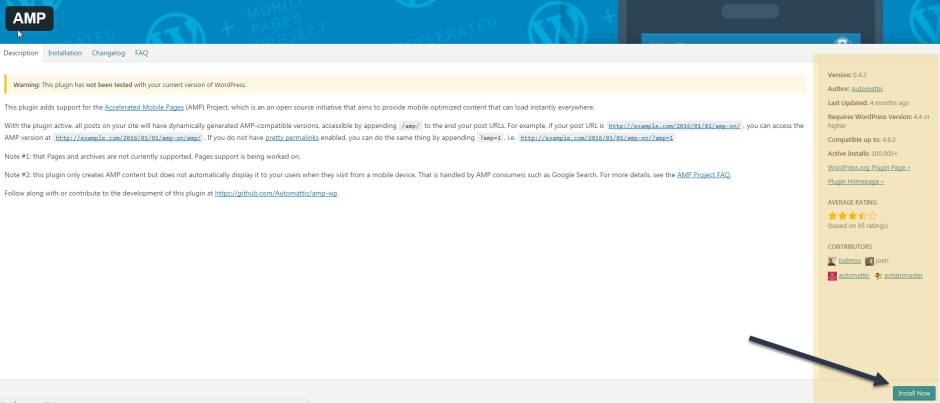
Another popup will be displayed with step-by-step instructions for setting up Google AMP. To start, we'll install the AMP plugin.
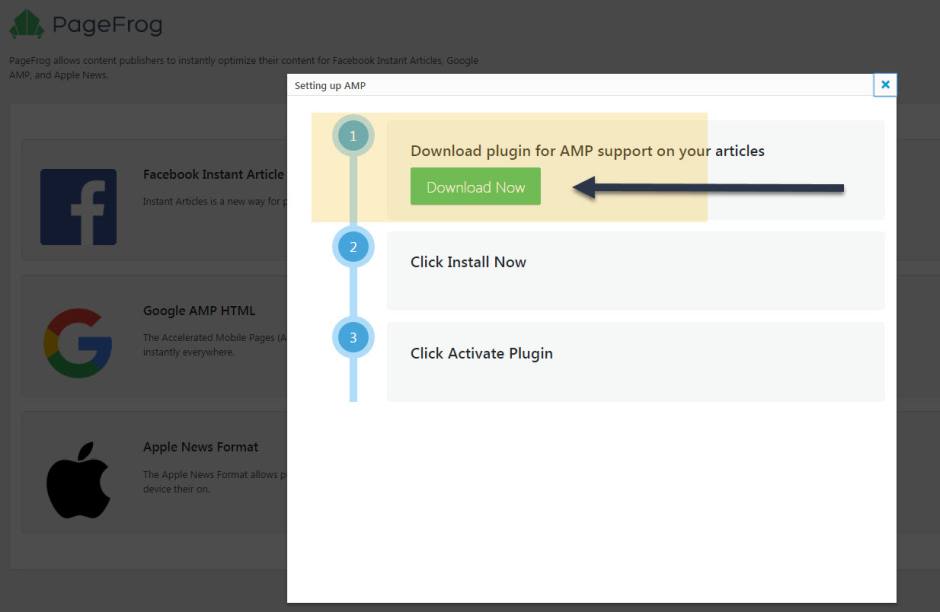
This is a free plugin created by the Automattic development team. Just click "Install Now", and then activate the plugin on the screen that follows.
Tada! All finished. Once again, the process took only a couple minutes, and you're now ready to start serving content to your mobile visitors at up 4x greater page load speeds.
Wrapping Up
If you haven't already got PageFrog installed on your website, then head over to WordPress.org and download it today. In just a few minutes, you're have your website all setup to take advantage of the AMP and FBIA projects, and your visitors won't ever stop thanking you for it!
tanjid
April 27, 2017 at 3:03 am
thank you sir. But I am confused about Rss feed part would u plz clear talk about this part?
Makis Mourelatos
April 30, 2017 at 11:15 am
Hello Tanjid.
The RSS part is guided through PageFrog’s pop up screen inside your WP Dashboard. Once you reach that step you will see a popup with the needed instructions.